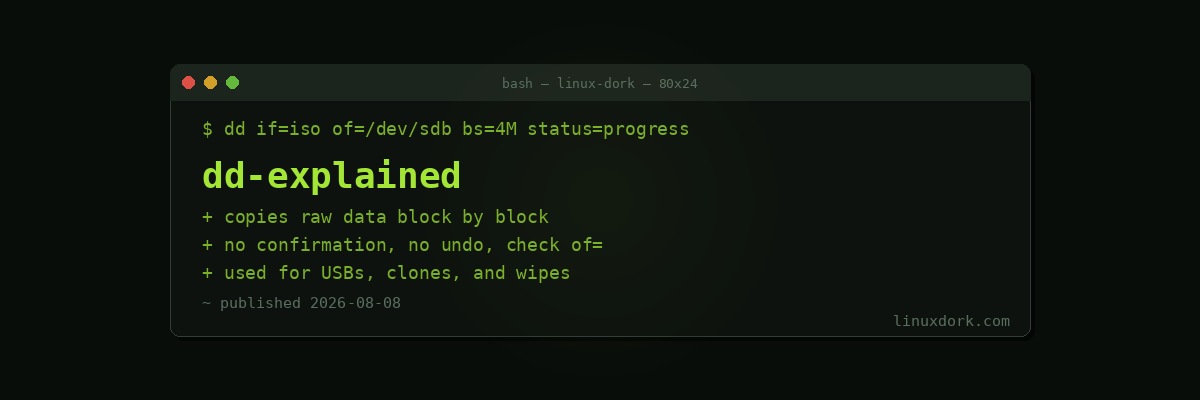
The dd Command Explained
dd copies data at the lowest practical level, reading and writing raw blocks directly, rather than working through the higher-level file-copying logic tools like cp use. That makes it the standard tool for writing bootable USB drives, cloning entire disks, and wiping drives securely. It also has no confirmation prompt whatsoever, which has earned it the informal, entirely deserved nickname “disk destroyer” among people who have pointed it at the wrong device.
The basic syntax
dd if=INPUT of=OUTPUT bs=BLOCKSIZEif (input file) is where dd reads from. of (output file) is where it writes to. bs (block size) controls how much data is read and written per operation, commonly set to something like 4M for a reasonable balance of speed and progress granularity. Either if or of can be a regular file, a raw device (like /dev/sdb), or special files like /dev/zero and /dev/urandom.
Writing a bootable USB drive
sudo dd if=linux-distro.iso of=/dev/sdb bs=4M status=progress oflag=syncstatus=progress shows a live, periodically updating progress line, since dd produces no output at all by default and can otherwise look hung during a long write. oflag=sync forces each write to be physically committed to the device before moving on to the next, reducing the chance of silent, unflushed data left in a buffer if the process is interrupted partway through.
Before you run anything: confirm the device
This is the single most important step in any dd command that targets a real device, and skipping it is how disks get destroyed by accident.
lsblk
sudo fdisk -l
Run one of these immediately before writing, not from memory or an earlier check, since drive letters can shift depending on what else is currently connected. Confirm the exact device name (/dev/sdb, for example) corresponds to the actual drive you intend to write to, and specifically confirm it is not your system’s main disk (often /dev/sda), a mistake that is both extremely common and completely unrecoverable once the write begins.
dd has no confirmation prompt and no undo. If of= points at the wrong device, dd will overwrite it completely and silently, exactly as instructed, with no warning that anything unusual happened.
Cloning an entire disk
sudo dd if=/dev/sda of=/dev/sdb bs=4M status=progressThis copies every byte from /dev/sda to /dev/sdb, an exact block-level clone including the partition table, boot sector, and all data, not just the files a normal file copy would preserve. Both devices should be unmounted before cloning, and the destination should be at least as large as the source.
Creating a disk image (backup) before making changes
sudo dd if=/dev/sda of=disk-backup.img bs=4M status=progressRather than cloning directly to another physical disk, this saves an exact image of a disk to a regular file, useful as a backup before attempting something risky like a partition resize or an OS upgrade, since the image can be written back with dd in the reverse direction if something goes wrong.
Wiping a drive
sudo dd if=/dev/zero of=/dev/sdX bs=4M status=progressOverwrites the entire target device with zeros, a reasonably effective wipe for most everyday purposes like repurposing or discarding a drive. For SSDs specifically, a straightforward dd overwrite is not always fully reliable due to wear leveling and overprovisioning, which can leave some physical blocks untouched by a sequential write; the manufacturer’s own secure erase command, accessible through tools like hdparm --security-erase, is the more reliable option for SSDs specifically.
Testing disk read speed
sudo dd if=/dev/sda of=/dev/null bs=1M count=1000 status=progressReading from a device and writing to /dev/null (which discards everything) measures raw read throughput without the overhead of a filesystem, useful as a rough disk performance check, though dedicated benchmarking tools give a more complete picture for serious performance testing.
Common dd mistakes
Swapping if and of reverses the direction of the copy entirely, potentially overwriting your source data with the contents of what was meant to be the destination. Forgetting status=progress on a long operation leads to uncertainty about whether the command has hung. And most critically, not re-verifying the output device name immediately before running the command, rather than trusting an earlier check or memory, is the root cause behind the vast majority of “I destroyed the wrong disk with dd” stories.
A safer alternative for writing bootable USB drives
For the specific, common task of writing a distribution ISO to a USB drive, dedicated tools like Rufus (Windows), Etcher, or a distribution’s own recommended imaging utility typically provide device confirmation dialogs and other safety checks dd does not have built in. dd remains the more universal option, available on virtually any Linux system with no extra install required, but for anyone specifically nervous about targeting the wrong device, a tool with a confirmation step is a reasonable, safer choice for that one task.
Frequently Asked Questions
Why is dd considered dangerous?
dd copies data at a low level, block by block, directly between whatever input and output you specify, with no confirmation prompt and no built-in safety check confirming the output target is actually what you intended. If the output device (of=) is mistyped, pointing at your main system disk instead of a USB drive, for example, dd will overwrite it completely and silently, with no warning, no “are you sure,” and often no visible error until it is too late, since dd considers overwriting the specified target exactly what it was asked to do. This combination of power and a complete absence of guardrails is why dd carries the informal nickname “disk destroyer” among people who have made this exact mistake.
How do I make sure I am writing to the correct device with dd?
Before running any dd command with of= pointing at a device, run lsblk or sudo fdisk -l first to confirm exactly which device name corresponds to the drive you actually intend to write to, and double and triple check that name against the of= argument before pressing enter, since there is no confirmation prompt and no undo once the write begins. A frequent, catastrophic mistake is confusing the target USB drive (commonly something like /dev/sdb) with the system’s own main disk (often /dev/sda), especially since USB drive names can shift depending on what else is connected, which is why checking immediately before running the command, not from memory or an earlier check, matters.
What do if, of, and bs mean in a dd command?
if (input file) specifies where dd reads data from, of (output file) specifies where it writes data to, and bs (block size) specifies how much data is read and written at a time in each operation, commonly set to something like bs=4M for a reasonable balance of speed and progress reporting granularity. A typical invocation like dd if=image.iso of=/dev/sdb bs=4M reads from image.iso and writes directly to the raw device /dev/sdb, 4 megabytes at a time, bypassing the normal file-copying mechanisms entirely in favor of direct block-level access.
Why does dd not show any progress by default?
dd’s traditional behavior is to run silently until it finishes or fails, with no progress indicator, which understandably makes people worried it has hung during a long operation like writing a multi-gigabyte ISO to a slow USB drive. Modern versions of dd support status=progress, added as an argument: dd if=image.iso of=/dev/sdb bs=4M status=progress, which prints a live, periodically updating progress line showing bytes copied and current throughput. Adding status=progress by default to essentially every dd command that might take more than a few seconds is a small habit that saves a lot of uncertainty about whether the command is actually still working.
How do I safely wipe a drive with dd?
dd if=/dev/zero of=/dev/sdX bs=4M status=progress overwrites the entire target device with zeros, a straightforward and reasonably effective way to wipe a drive for most everyday purposes such as repurposing or discarding it. For higher-assurance wiping intended to defeat forensic data recovery specifically, dd if=/dev/urandom (writing random data instead of zeros) is sometimes used instead, though modern SSDs specifically are usually better and more reliably wiped using their own built-in secure erase command (accessible through tools like hdparm —security-erase) rather than a simple dd overwrite, due to how SSD wear leveling and overprovisioning can leave some data blocks untouched by a straightforward sequential dd write.
Is there a safer alternative to dd for writing bootable USB drives?
Yes, for the common specific case of writing a distribution ISO to a USB drive to make it bootable, dedicated tools like Rufus (Windows), Etcher, or a distribution’s own recommended imaging tool generally provide a friendlier interface with device confirmation and built-in safety checks that plain dd does not have. dd remains the standard, most universally available option on essentially any Linux system without needing to install anything additional, and works reliably once you are confident about the target device, but for anyone specifically nervous about picking the wrong device, a tool with a confirmation step and clearer device selection is a reasonable and safer alternative for that one specific task.